Now introducing: AlphabeticalZürich

I recently ran into a Mastodon post of someone who started photographing all the streets of Paris, in alphabetical order: MonParisAlphabétique. I thought that it was a GREAT idea, worth pursuing for other cities, and, since I live in Zürich, I recently started AlphabeticalZurich, which I’m hosting on WordPress and Pixelfed. So if you’re only interested in the pictures and the photography side of things, you can stop reading here and go there (WordPress) or there (Pixelfed; sorted by collections/streets here).

But, there’s a few gritty details that belong to this blog rather than the other one 😉 I prefer to start projects with a tiny bit of logistics, and in particular establishing the list of streets and how to traverse it sounded like a reasonable idea. Here comes the rambling blog post about what I tried, what I played with, and what’s the current status of said logistics.

To get the list of streets of Zürich, I turned to the Swiss OpenData data, and got a link to the CSV of all the streets of Switzerland on geo.admin.ch (other formats are available and documented in the metadata).

The lines look mostly like this:

10006621;Bahnhofstrasse;8001 Zürich;261;Zürich;ZH;Street;existing;true;12.08.2023;2683111;1247210

in which I’m interested in the second and third field. There’s a bit more subtlety, the third field is sometimes a multi-valued field separated by commas (when a street spans several zipcodes or even several cities).

Let’s clean this up a bit:

$ cut -d ";" -f 2,3 pure_str.csv | grep -E "8[0-9]{3} Zürich" | sort

The first few lines are kind of “meh” because they’re highways (and that sounds kind of dangerous), so let’s drop the A\d streets:

$ cut -d ";" -f 2,3 pure_str.csv | grep -E "8[0-9]{3} Zürich" | grep -v "^A[0-9]" | sort 

and we have a list. Now, that list contains 2425 entries, so I’m going to need to do a bit more than one street a week if I want to have a chance of finishing this. Since I know myself, I need to optimize “a bit, but not too much”. So if I’m in a street starting with A, and there’s another one in the vicinity, I may want to go shoot it while I’m at it, even if it’s technically not the next one on the list. My first idea was to use zip codes as a heuristic for “places that are in the same vicinity”. So the algorithm would look a bit like this:

pick the first non-photographed street on the alphabetical list
pick all the streets starting with the same letter in the same zipcode, in order
take pictures of all these streets, mark them as photographed

Okay, this starts to be too complicated for my one-liner Bash (I tried. I really did.), so let’s get some Python instead (I did wonder if I wanted to write some ugly PHP or some ugly Python, so you’re getting some ugly Python.) I also added a bit of output to get a query for overpass turbo.

f = open('zuri_sorted.txt', 'r' )
currLett = '0'
zipStr = {}
zipList = []

for line in f.readlines():
    line = line.strip()
    if (not line.startswith(currLett)):
        for zip in zipList:
            print(zip)
            print(', '.join(zipStr[zip]))
            print('====')
            print( '(' )
            for street in zipStr[zip]:
                print( 'way["name" = "', street, '"]({{bbox}});', sep='')
            print(');', "out body;", ">;", "out qt;", sep="\n")
            print('====')

        currLett = line[0]
        zipStr = {}
        zipList = []
    
    toks = line.split(';')
    street = toks[0]
    zips = toks[1].split(',')

    visited = False
    for zip in zips:
        if (zip in zipStr):
            zipStr[zip].append(street)
            visited = True
            break
    
    if not visited:
        zipStr[zips[0]] = [street]
        zipList.append(zips[0])

My output for a given letter and a given zip code now looks like this:

8001 Zürich
Cäcilienstrasse, Caroline-Farner-Weg, Chorgasse
====
(
way["name" = "Cäcilienstrasse"]({{bbox}});
way["name" = "Caroline-Farner-Weg"]({{bbox}});
way["name" = "Chorgasse"]({{bbox}});
);
out body;
>;
out qt;
====

I can send the part between the ==== lines to overpass turbo to see where these are on a map:

Section of a map of the center of Zürich with Cäcilienstrasse, Caroline-Farner-Weg and Chorgasse highlighted in blue
Credit: OpenStreetMap

I quickly realized that this was not necessarily the best approach because a/ zipcode areas are actually quite large b/ stopping at the boundary of zipcodes is actually fairly arbitrary. But, playing with these did bring overpass turbo to my attention, including the fact that it has an API that looked useful: Overpass API. I consequently modified my query to get “streets starting with the same letter within a radius of 500m1 of a starting point”, with the starting point defined as “the first street that I haven’t processed yet”. I actually have two overpass queries now. The first one displays the map:

[out:json];
(
  area[name="Zürich"][place="city"];
  way(area)["name"="Aargauerstrasse"]->.a;
  way(area)(around.a:500)["name" ~ "^A"][highway]({{bbox}});
);
out body;
>;
out skel qt;

The second one tells me exactly which streets I’m visiting that day:

[out:csv("name";false)];
(
	area[name="Zürich"][place="city"];
	way(area)["name"="Aargauerstrasse"]->.a;
	way(area)(around.a:500)["name" ~ "^A"][highway]({{bbox}});
	for (t["name"])
	(
  		make x name=_.val;
  		out; 
	);
);

Ideally I’d be able to get both in one query somehow, and in a way that doesn’t require editing both the name of the street and its first letter in two places; for now, let’s call that good enough. Compared to the zipcode approach, I’ll also have to manually track streets and feed the next one to the query; maybe I’ll do something fancier at some point, but for now, again, let’s start things and see where the pain points are before prematurely optimizing.

There – I am now READY to go exploring the streets of Zürich! I expect the process there to be: for each street, take a picture of the street sign (to have an idea of where pictures are taken!), take a general view picture of the street, try to find a few fun details, go home, process pictures. And then, publish pictures on Wikimedia Commons, on the blog, and on Pixelfed, rinse and repeat. Oh, and update the spreadsheet, too.

Screenshot of a spreadsheet with the lines as "street names" and the columns as "Shot / Processed / Commons / Written blog / Published blog / Pixelfed". The cells are red and green no/yes, where the two first lines are all "yes", the second line has "yes" on "shot" and "processed", and the rest is "no".

Let’s go!

  1. Value decided by taking the first street and see what looks reasonable from there. Very scientific approach. Also, this seems to yield 2-3km paths for photo walks, which is pretty good, actually. ↩︎

38th Scavenger Hunt

I do not have much in terms of “behind the scenes” for the 38th Scavenger Hunt, because there’s no setup and barely any processing in there – so I decided to make a single post instead.

The List was heavily oriented towards a pirate/adventure/treasure theme, which I was quite happy to see, because I knew I was travelling to the Canary Islands during the Hunt time, and what better setting than an island for that kind of theme? So here are my pictures, in the order of the album reveals. There’s a mix of “seeing the scene and knowing it was a good fit for the Hunt” and “going through the pictures after the fact and finding things that may fit the theme”, but I did want to keep the set to “Canary Island pictures”, which I managed to do… although this may have been a stretch in some cases 😉 If you want the rest of the pictures for that trip, they’re there: Canaries – 2023. And I’m linking my fellow Scavenger albums along the way 🙂

Treasure

A bee sitting on a very yellow flower. The framing is not very close to the flower (there's a bunch of green leaves around the flower), but still enough to distinguish the translucid wings of the bee.

Treasure was definitely a “let me go through my pictures and find something appropriate”-type of picture. I thought going for the bee on the flower was maybe a bit of a stretch, but I wasn’t the only one with this idea in the album, so what do you know! 🙂 The processing of this picture was a bit annoying, because I couldn’t find a crop that completely worked. I finally settled on that one, but I’m not entirely satisfied with it.

Adventure

A small wooden bridge, held by black stones, over a lower flat surface. . The background is very red rocks, and the whole scene looks like  red dust has covered everything - almost Martian, if not for the few small timid plants.

I honestly do not remember if I had “Adventure” in mind when I took this shot. I think I may have, but (as I didn’t know yet at the time) I was starting to come down with COVID, and my brain was apparently already busy fighting it, so I don’t have much memories there.

Flag

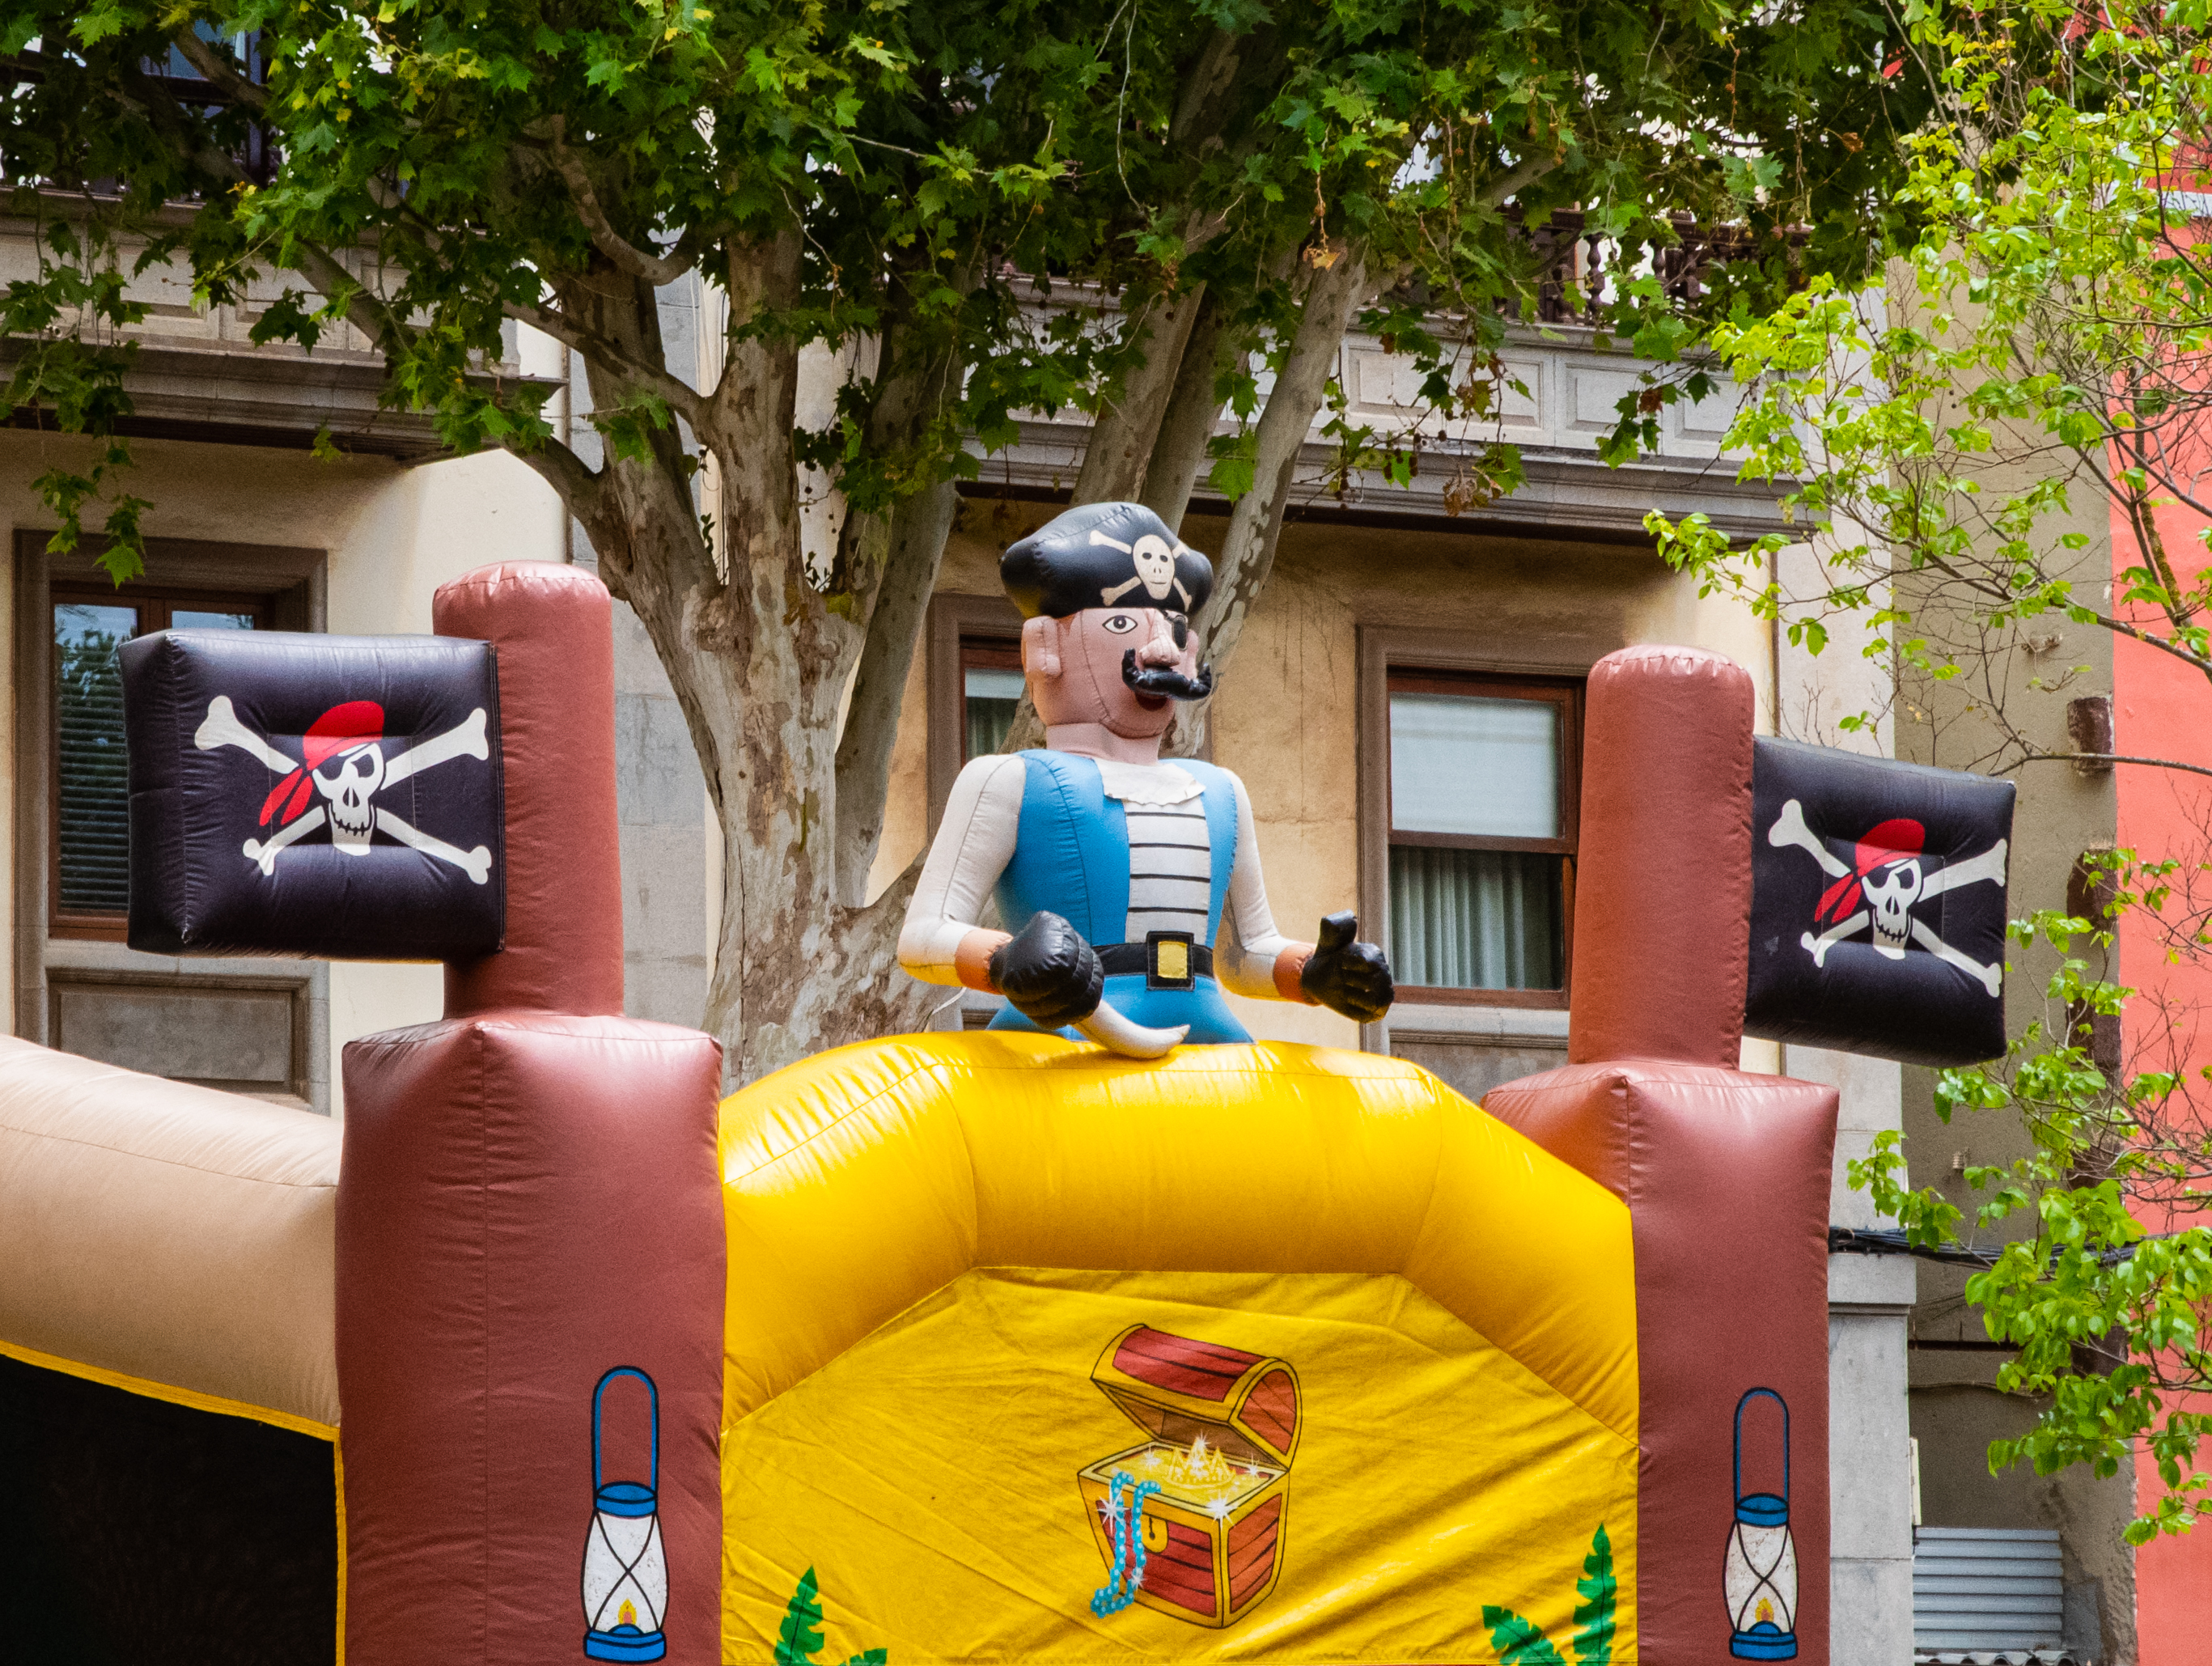
Top of an inflatable castle with a "pirate" theme - inflatable walls, inflatable pirate, inflatable pirate flags.

I giggled SO MUCH when I ran into this inflatable structure, set up of town festivities. It’s not often that you can get a shot that would work for not one, not two, but THREE words (treasure, skull and flag) on a list… and with a very literal interpretation at that! That shot almost made the cut for two themes (I was considering two different crops for Treasure and for Flag), but I eventually decided that, while funny, it wasn’t a shot worth two words, so I submitted it for Flag.

Code

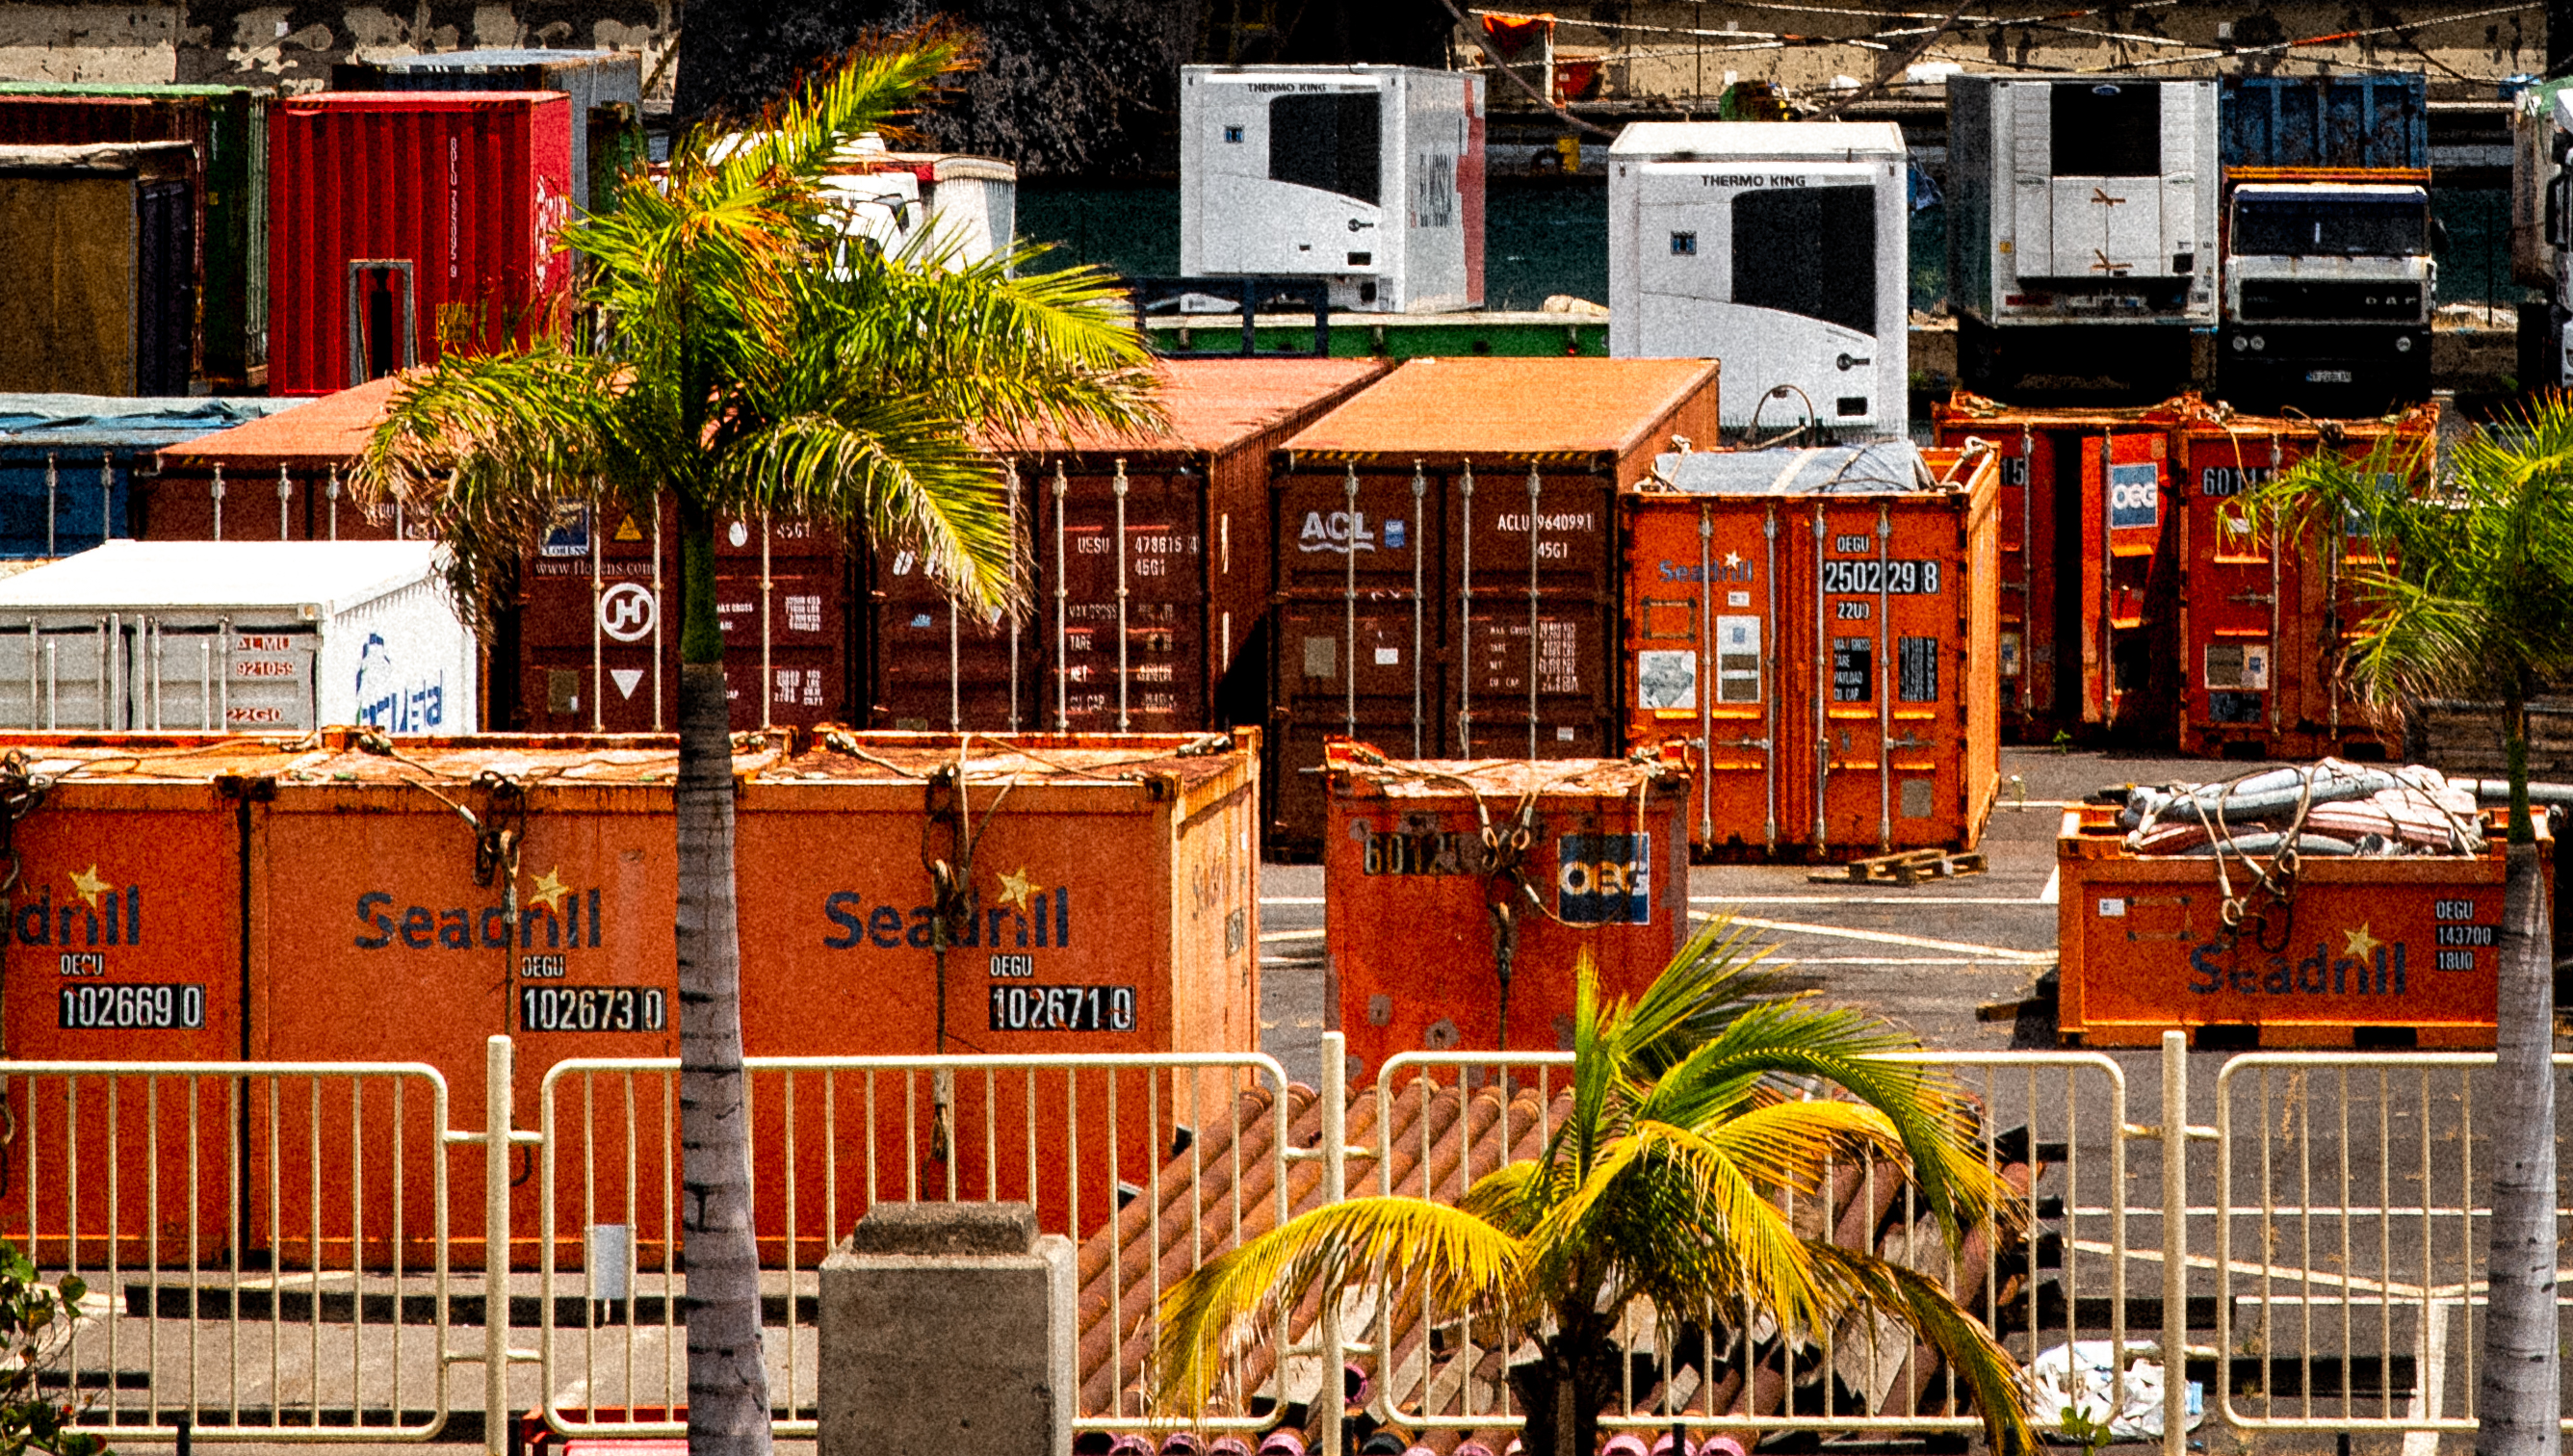
Cargo containers with their numbers clearly visible. The cargo containers are orange/brown/red; there's a few green palm trees in the foreground. The image processing is grainy and gives a film feeling.

Code” was definitely a “let me see what I have in my pictures roll that might match” situation. I had taken a lot of pictures around the harbor in Santa Cruz de Tenerife, and I suddenly realized that I actually had a fairly decent fit for the theme around the container codes. I had to extract this from a much larger crop to make obvious what I wanted to convey; and I decided for a retro/film processing (with grain and slightly off color toning), because it felt right when I started playing with it.

Vessel

For Vessel, on the contrary, I had a wealth of images to choose from, and I had taken a lot of pictures of boats and ships (easy, on an island!) with that theme in mind. But that drakkar felt the funniest/nicest vessel I could find, and it also fit the connotation of the theme well (better than, say, a ferry.) The processing was kind of annoying, because I took that picture between two trees, but I still wanted to give a sense of open sea, rather than “something taken from my hotel room” (which… it was), so there’s been a significant amount of healing and cloning involved. I think it’s not too bad 🙂

Monster

A large accomodation barge, presenting as a small building on top of a large platform on top of six large feet. The platform and the feet are red, offering a stark contrast with the blue sky.

I must admit I didn’t think of Monster when I took pictures of this offshore barge, but it absolutely jumped at me when I was looking at my photo (digital) roll with the list in mind. Not only is it a very large “monster” structure, but with a bit of imagination, you can see six legs and a large head! I was afraid this would be a bit of a stretch, but the comments seem to agree that this is a good fit for the theme, so I’m happy.

Skull

A LEGO diorama with two ships, including a pirate ship with skull and swords on its sails, over a blue LEGO seabed.

We entered a mall that happened to have a pretty neat LEGO exhibition… including this cool diorama. I had taken the shot I used for “Flag” already, so I knew I had a “backup Skull” if needed, but I was still very happy to stumble upon this one. It’s also the only picture of this Hunt I didn’t take with my DSLR, but with my phone 🙂

Eight

Two prickly pear heads with eight flowery bulbs on top each, with mountains in the background.

I must admit that Eight needed a liiiittle bit of help to fit the theme, although I had taken that picture with the word in mind. Turns out, each of these cactus heads had 9 bulbs and not 8 – the one one the right had one hidden behind another, and the one on the left had one that was further away than the others. I called Photoshop to the rescue and, well, I did manage to submit not one, but two eights for that shot 😉

Aquamarine

Parking lot markings on a dark road. We see regural white markings, and aquamarine square markings, maybe for small containers or boxes.

There was a lot of opportunity for Aquamarine – taking pictures of shades of blue-green in waves was my first attempts at the shot, until I ran into these markings on the harbour near the Monster picture, and they just looked perfect for the theme. I was trying to go into the more abstract view of the picture, but I think I didn’t quite manage to get what I wanted there.

Sea / See / C

Sunset over the sea; the sky has a line of clouds and is orange, the sun is almost touching the sea, and is aligned with a large rock on the beach. A small wave is exploding near the rock.

And the last picture of the set was a “bonus word”, with the theme “Sea/See/C” (choose one, two or all three!). I’ll admit I went the lazy way with that sunset, but it was a very nice sunset to watch, sitting on a sea wall… we were definitely not the only people there 😀

“What do I do with that lime?” or “The genesis and state of my cocktail book index”

Two martini glasses with a clear liquid and an olive in each, over a seamless grey/white background

A while ago, I bought an excellent book, called Drinking French, by David Lebovitz. It’s not strictly a cocktail book because there’s lots of stuff in it, but I’ll admit that I’ve only tested the cocktail recipes so far.

I have also, since then, bought another excellent book, called Cocktail Codex, also a staple next to my liquor cabinet.

These two books have a few common issues:

  • their (paper) index does not make it easy to search for a cocktail that have two distinct ingredients (apart from looking at the index and finding the intersection),
  • their index is not complete and, in particular, does not contain “trivial” ingredients such as lemon juice or simple syrup,
  • their index does not necessarily account for substitutions I may feel confident doing,
  • they don’t have a common index and I’d need to have a look at both to make decisions.

So I typically find myself in a situation where I have limes, and no idea what I can make with them, except it’d be nice to have something with gin. Also, I’m not that picky and probably if you give me a recipe with lemons, I’ll put my limes in it instead and call it good enough. So, the problem that I was trying to solve was: “given a set of cocktail ingredients, give me ideas for what I can make with them, allowing for some fuzziness in the exact research”.

With that problem in the back of my mind, roughly at the same time, I read Index, A History of the, by Dennis Duncan (a book about the art of indexing), and I became somewhat fascinated by Wikibase (the Mediawiki-base software backing Wikidata, which handles structured data). Things kind of clicked to “WHAT IF I re-indexed the books in a Wikibase instance, I added some structure to the ingredients for the fuzziness, and I made SPARQL queries to get exactly what I want?”

So I did that – I installed Wikibase, and I started re-indexing. I added some structure to the data by adding “subclasses of” and “instances of” and “can be substituted by” and “such as”, and it was glorious. Then I gave some thought about the exact query I was interested in, and I ended up with something along the lines of “given a list of ingredients, for each of them, get a list of substitutes, and give me a recipe that contains at least of one substitute of each ingredient of the list”, where “substitute” is defined as either the ingredient itself, something that is explicitly defined as a substitute, or something that is (transitively) either a refinement or a larger category of the ingredient. The reasoning there is that, if I input “London dry gin”, I want to get the recipes that have “gin” (without qualifier), but also the ones that have a specific brand of London dry gin.

I bundled a small Mediawiki extension called CocktailSearch to be able to query my database and, for a while, I was happy. Here’s an early version of that interface (I had added the page number in the meantime too!)

Screenshot of a Mediawiki interface showing the CocktailSearch extension, displaying results for a search for lime juice and Cointreau.

And then, doubts crept in. My Wikibase install was run via the Docker images. It worked pretty well, but I was a bit unhappy with running 9 Docker images, including one that kept restarting (I probably could have fixed that one, but eh), on a machine (my home Windows desktop computer) that wasn’t really suited for it. I’m not much of a system administrator and I have 0 confidence in my Docker skills in general: the whole setup was making me a bit nervous. Migrating my cocktail index to a more persistent setup became my new project.

I considered multiple options, including “just moving the Docker images to another machine”. I finally settled on trying to run Wikibase, without the Docker images, on a Raspberry Pi that we have laying around. I actually went pretty far in the installation, and I think it could have worked out. But again, I got really nervous about the durability of the setup – Raspberry Pis are not known for being particularly good at data persistence. On top of that, getting from something that “mostly works” to something that I could plug in and access three minutes later with everything running looked like a goal that I might be able to eventually reach, but software rot was a real concern. I felt stuck.

I talked about that with my husband, who pointed out that my usage of SPARQL was actually fairly limited (it is, in fact, limited to a single large query), that my data was actually very very small (maybe a thousand records), and that I could maybe… not use SPARQL, and then not need the whole Wikibase machinery either. I was not convinced at first, because killing your darlings is hard. I had invested quite a bit of fondness in that architecture, and I did like the idea of running mostly standard software. But it didn’t take that much thinking before I actually got excited about the idea of simplifying the whole project drastically.

So, I exported my data to a JSON file, and I started hacking some import script. I then looked at my imported data and at my SPARQL query, hacked some loops in PHP, and essentially called it a day: my SPARQL query and my PHP queries were returning the same results for my few test queries.

Then, came the question of completing the database – indexing takes time, and my base was (and is still) not complete (and, who knows – maybe I’ll index some more books later!). While I’m able to programmatically read the dumped Wikibase JSON, I’m definitely not able to write it by hand without a lot of tears; but continuing to run Wikibase just as an input interface felt a tad excessive. Hence, I transformed my JSON structures into a flat file format that I could easily write by hand and easily parse. I added a significant amount of validation to avoid typo-duplicates and missing item references, and I re-exported my JSON data into that new format. I double-checked that I wasn’t losing any information (I’m indexing a bit more than I need, technically, because I’m also taking notes on the glass type, for instance), and then I started trying to complete the file with new items.

I honestly thought I wouldn’t last three recipes without slapping some kind of interface/completion on that file format, but it’s going significantly better than I expected. I did modify the file format a bit to make it easier to edit manually, at the cost of reading through the file twice when parsing it (I can live with that; and if I couldn’t, I could optimize there, but why bother :P). It feels like it’s enough: I have a validation script that runs fast enough with good enough error messages that I can input things and correct them more quickly and more pleasantly than I did with the Wikibase interface.

Speaking of interface, I also slapped a small web interface on the script, so that I can search with completion and have a readable output. The search completion was also far less involved than I expected: turns out the <datalist> tag does exactly what I want, assuming I pass a list of ingredients (which I can get as “transitive subclasses and instances of the ingredient item”) to the generating HTML. And there, new interface, new results – with additional data entry done in the meantime too 🙂

Screenshot of a HTML table displaying search results for cocktails with limejuice and Cointreau

So anyway, that’s the genesis of the current version of my cocktail book index, which is now called LimeCockail in reference to my original “now what do I do with these limes”.

It does feel a bit of a convoluted path for something that, at the end of the day, is, like, 500 lines of PHP, give or take, but going through that path was very interesting for a variety of reasons. It did give me some hands-on experience with Wikibase (granted, without the issues that come with “running a public instance” 🙂 ), and the Wikibase RDF structure helped me define my structured data in a way that makes sense to me. I also stretched my (almost nonexistent) sysadmin muscles to try to make all of this work together, and I (re-)learnt a few things about the LAMP stack and ElasticSearch. I also got a bit more experience with SPARQL, and I touched jQuery for the first time in a long time to be able to hack the search components backed by Wikibase data. All in all, this project taught me a lot of things!

Now I just need to finish indexing the Codex… 🙂

Scavenger Hunt #37 – Box

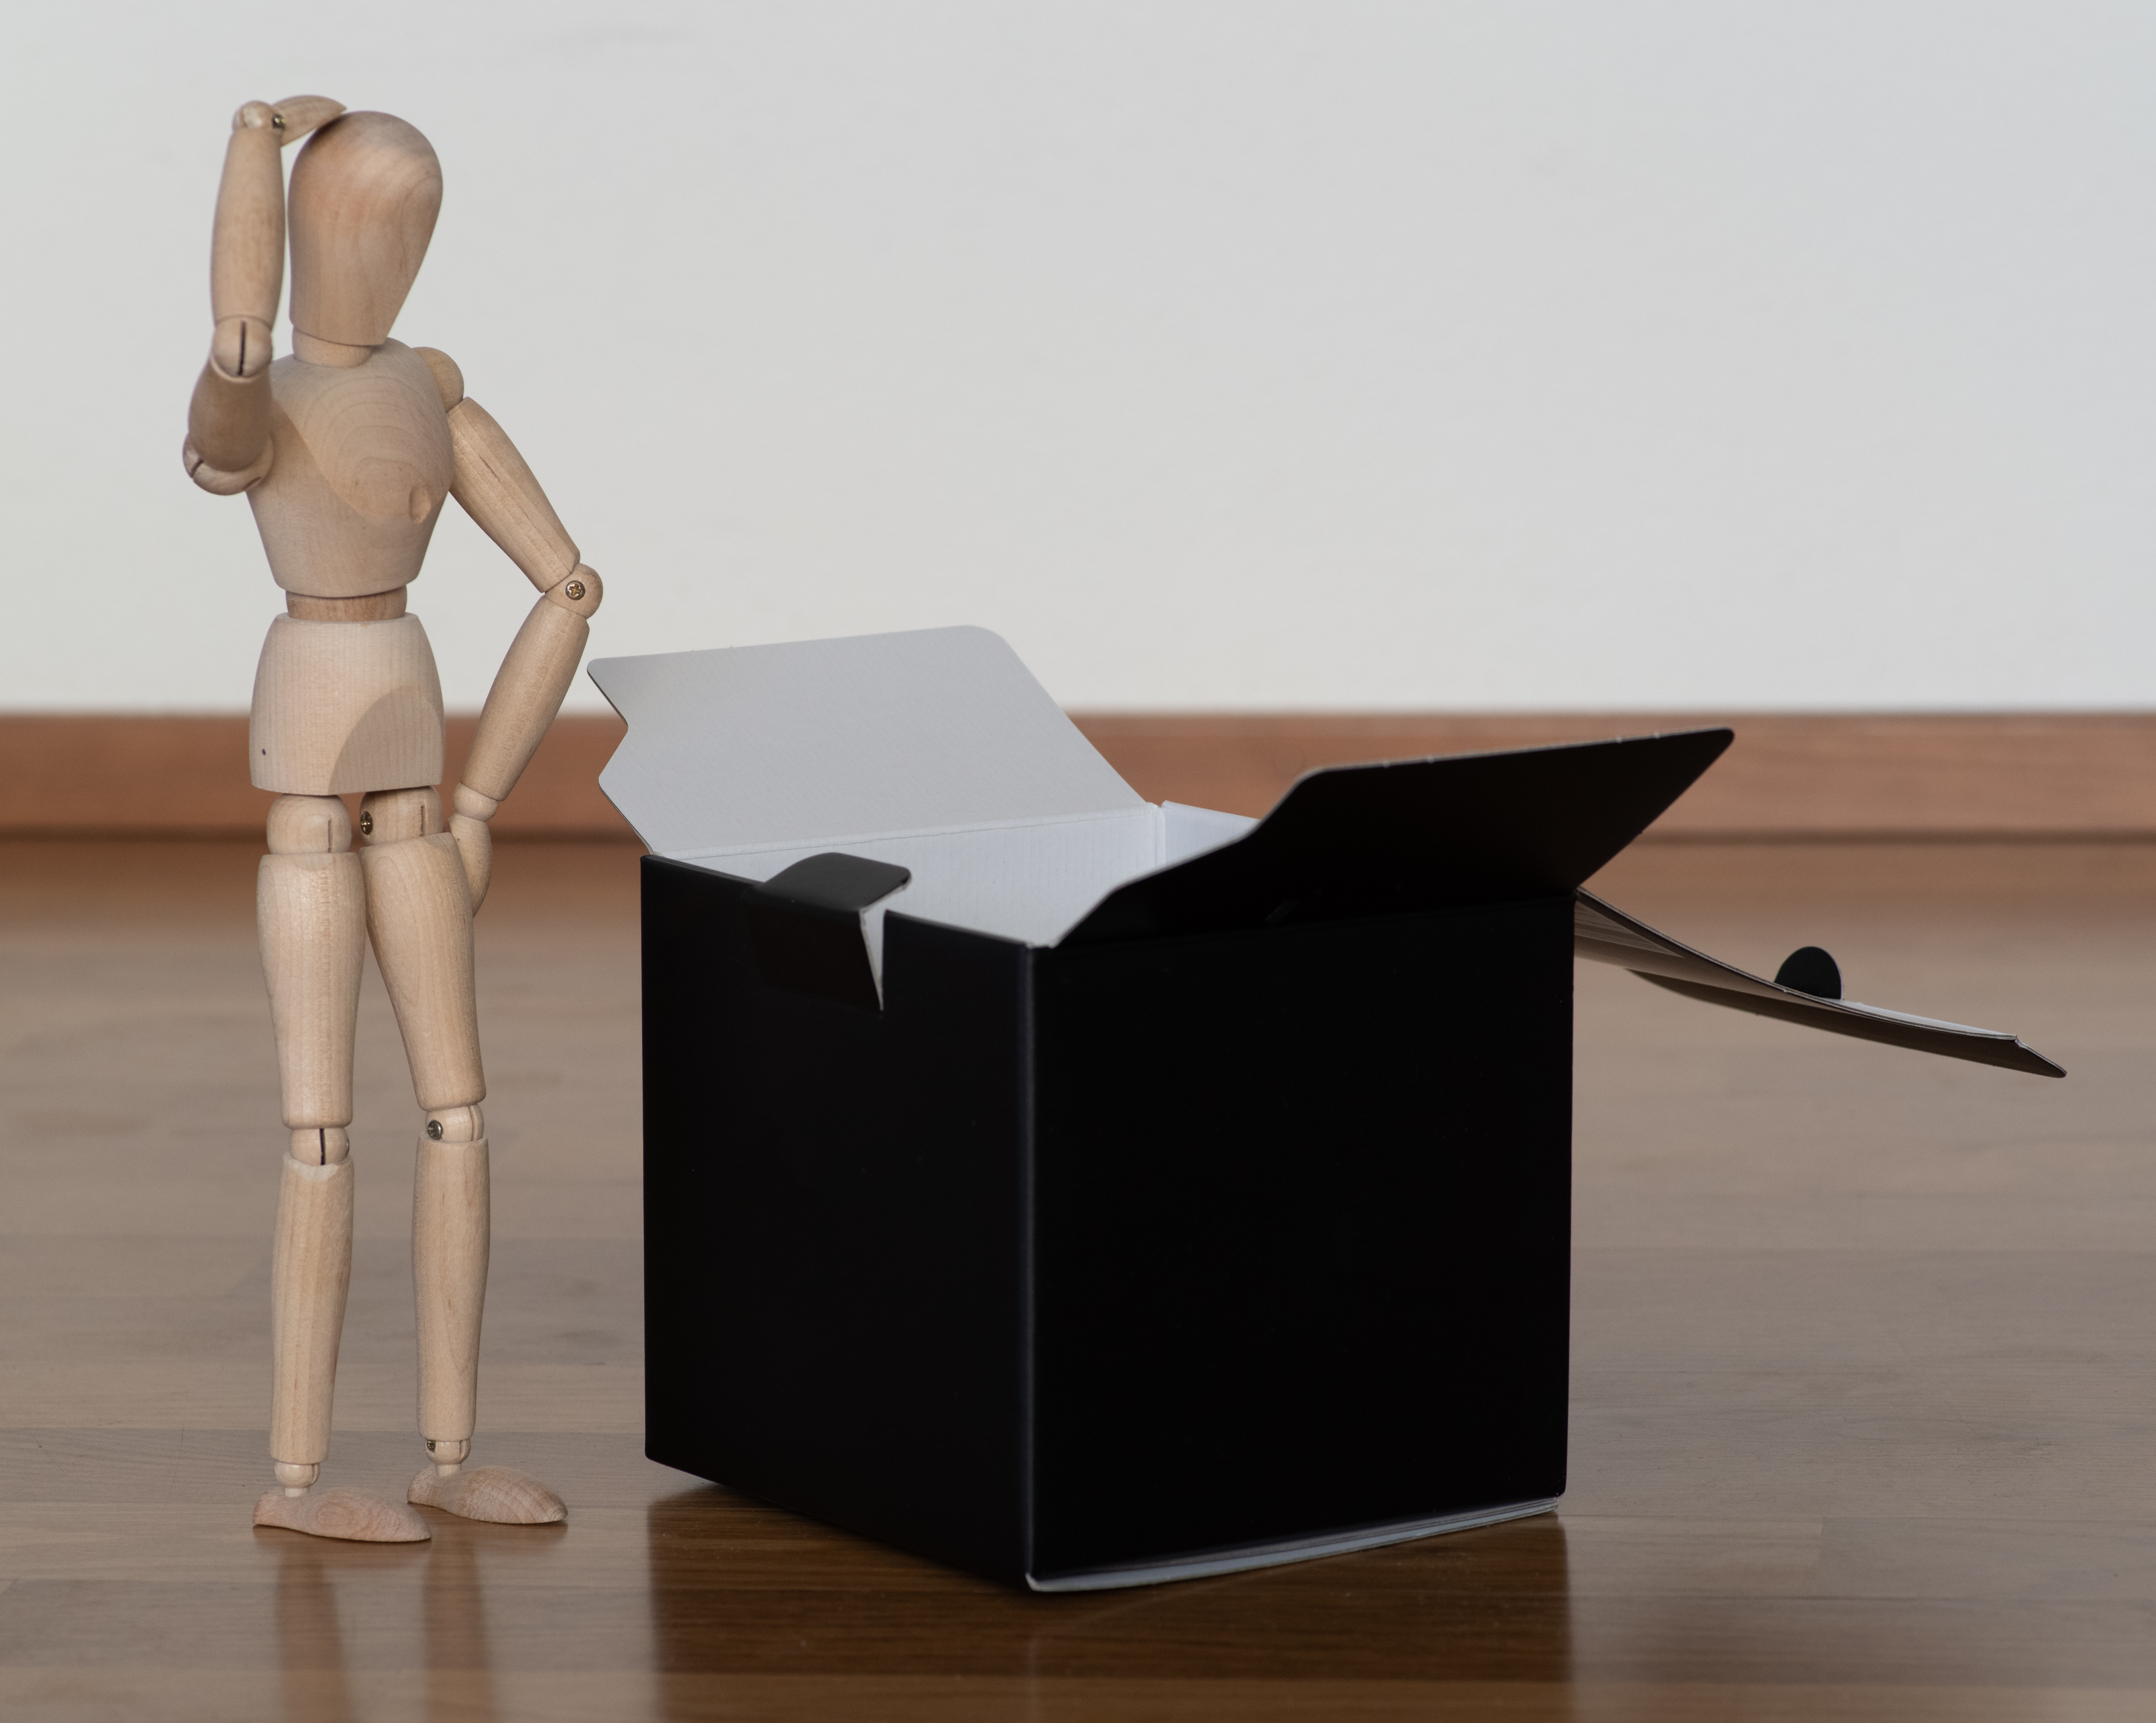
A wooden manikin, looking perplexed, in front of an open black box.

For the Scavenger Hunt #37, I revisited the theme I had used in Scavenger Hunt #32 – the wooden manikins are back!

For “Box”, I wanted to go with a literal interpretation of “thinking outside the box” – so that’s exactly what I did. I was not sure I could find a box of the right size – until I got the idea of going for a lens box – of which I have kept at least the ones whose warranty is still running. The Fujifilm box is also kind of nice because it’s black – apart from the written stuff, that gets easily edited away.

Unedited version of the previous picture of a puzzled manikin in front of a black box. The crop and angle are a bit different, and the black box shows Fujifilm brand and information.
CameraPentax K-1 II
Lenssmc PENTAX-D FA MACRO 100mm F2.8 WR
Focal length100mm
F-NumberF/7.1
Exposure time1/100 s
ISO800

The pictures from my fellow Scavengers are here: Box.

Scavenger Hunt #37 – Keyhole

A wooden manikin seemingly spying at something through a keyhole, processed with vignetting, grain and blue tones.

For the Scavenger Hunt #37, I revisited the theme I had used in Scavenger Hunt #32 – the wooden manikins are back!

For “Keyhole”, I knew fairly early that I wanted to do something about looking through a keyhole. Before I committed to going for a manikin theme again, I was thinking of using a keyhole as a frame for something (not hugely original, but working with what I have). Instead, I went for the “spying” theme.

The challenge was to get the manikin at the “right” height with the “right” pose in front of the door – that took a bit of creative posing on top of a chair’s back, but eventually I managed to get a shot I could work with.

An unedited, very underexposed version of the previous picture of a spying manikin.
CameraPentax K-1 II
Lenssmc PENTAX-D FA MACRO 100mm F2.8 WR
Focal length100mm
F-NumberF/8
Exposure time1/80 s
ISO800

I went for a “noir-themed” processing – cold tones, strong vignetting and grain – and I’m quite happy with the final picture.

The pictures from my fellow Scavengers are here: Keyhole.

Scavenger Hunt #37 – Intentional Camera Movement

A wooden manikin, in a super hero pose, tilted slightly to the right, seemingly zooming into the image, with very visible movement trails.

For the Scavenger Hunt #37, I revisited the theme I had used in Scavenger Hunt #32 – the wooden manikins are back!

“Intentional Camera Movement” almost stumped me, because it didn’t feel obvious to make that work in a very static context such as manikins in a studio. Until I remembered that playing with the focal length of the lens while shooting was also intentional camera movement! I set up my camera on a Platypod and then experimented with multiple takes, some going from the smaller focal length to the longer, some trying to move as smoothly as possible, some making a few pauses during the course of the lens. I ended up choosing a continuous move from longer length to shorter length.

An unedited version of the previous image, where the manikin's movement is visible, but the manikin is clearly standing in front of a wall, which breaks the illusion.
CameraPentax K-1 II
LensPentax D FA 24-70mm F2.8
Focal length70 to 28 mm, continuous
F-NumberF/22
Exposure time3s
ISO100

I edited the picture to play with the “super hero zooming into the scene” aesthetics, in particular in the way I chose to tilt the image. I also processed the image to emphasize the movement trails. And I think it’s one of my favorite pictures for this Hunt 🙂

The pictures from my fellow Scavengers are here: Intentional Camera Movement.

Scavenger Hunt #37 – Monochrome

Two wooden manikins. One is sitting in a wooden bowl filled with elastic bands; the other is stirring the bowl with a wooden spoon.

For the Scavenger Hunt #37, I revisited the theme I had used in Scavenger Hunt #32 – the wooden manikins are back!

One of the words was “Monochrome”, with a specific “not black&white” constraint. Since I had a manikin theme, and my manikins are wooden, well, that gives me the palette for what I’m doing. So I started gathering everything that was vaguely wooden-colored in the apartment, and tried to assemble SOMETHING. My train of thoughts when building this image was “a manikin spa” – spas do have weird treatments going on, so why not an elastic-band based one for wooden manikins! I wanted to give the impression of relaxation for the one sitting, and of attending the other for the one standing. I’ve been told it could also look like the day after a student party – and I’m not disagreeing with that 🙂

Unedited version of the previous "manikin spa" image. It is very underexposed, and there's a lot to crop in the borders of the image.
CameraPentax K-1 II
LensPentax D FA 24-70mm F2.8
smc PENTAX-D FA 50mm F2.8 Macro
smc PENTAX-D FA MACRO 100mm F2.8 WR
Pentax DA 18-55mm 1:3.5-5.6 AL
Focal length63mm
F-NumberF/1.8
Exposure time1/100 s
ISO111

The pictures from my fellow Scavengers are here: Monochrome.

Scavenger Hunt #37 – Roots

The formulas "sqrt(3) = 1.732" and "sqrt(7) = 2.645", written with pink ink on overlapping sheets of paper, and where the square root signs are not written, but mimed by wooden manikins lying on the paper.

For the Scavenger Hunt #37, I revisited the theme I had used in Scavenger Hunt #32 – the wooden manikins are back!

The “Roots” image is the one where I expect the most “… I don’t get it”. I considered tree roots, hair roots – I had a vague concept for tree roots but that would be hell to process in the very little time I had left, and hair roots felt difficult to pull off with bald manikins (I do NOT have fond memories of making Spaghetti behave long enough to take pictures!). And then… square roots. Well well well! I could work with that!

I first posed both manikins in “square-root” shapes (… as best as I could – these are NOT the most flexible models). I initially wanted to use a single sheet of paper to give the rest of the context, but I had a scale issue, so I embraced the multiple sheets and made them as visible as I could. And then, square root of 3 is roughly 1.372 and square root of 7 is roughly 2.645, so I picked my prettiest pink pen and made that happen.

Shooting from above was a bit of an ordeal (and involved climbing on a chair with my camera, which I normally try to avoid.)

An unedited version of the previous image, showing manikins miming square root signs, uncropped and very underexposed.
CameraPentax K-1 II
LensPentax D FA 24-70mm F2.8
Focal length33mm
F-NumberF/6.3
Exposure time1/60 s
ISO800

Processing was mostly straightforward – make the sheet rectangular, crop, fix exposure, done.

The pictures from my fellow Scavengers are here: Roots.

Scavenger Hunt #37 – Tape

Two wooden manikins on all fours, busy rewinding a VHS tape in front of a TV showing an "end of programmes" test card.

For the Scavenger Hunt #37, I revisited the theme I had used in Scavenger Hunt #32 – the wooden manikins are back!

The word “Tape” is the one for which I went through the most different concepts over the timeframe of the Hunt. I started thinking about putting tape on a gift to close it; same thing with a moving box; I considered an audio tape (but I don’t think I have any in the apartment), I did A Lot of attempts at making a measuring tape work (either as “measuring furniture” or “tailor measurements”… nothing quite worked. And then, I remembered that I had a VHS tape somewhere!! (This tape is coming from 3D Construction Kit, for which we have a box… containing said intro video tape.)

I had the “rewinding” notion early on, but I added the blue blanket and the “end of programmes” image on the TV/tablet behind after a few first takes to help sell the “rewinding the video rental after having watched it” – how 90s of me.

A very underexposed and uncropped version of the previous image of manikins rewinding a VHS tape.
CameraPentax K-1 II
LensPentax D FA 24-70mm F2.8
Focal length31mm
F-NumberF/11
Exposure time1/40 s
ISO800

The pictures from my fellow Scavengers are here: Tape.

Scavenger Hunt #37 – Map

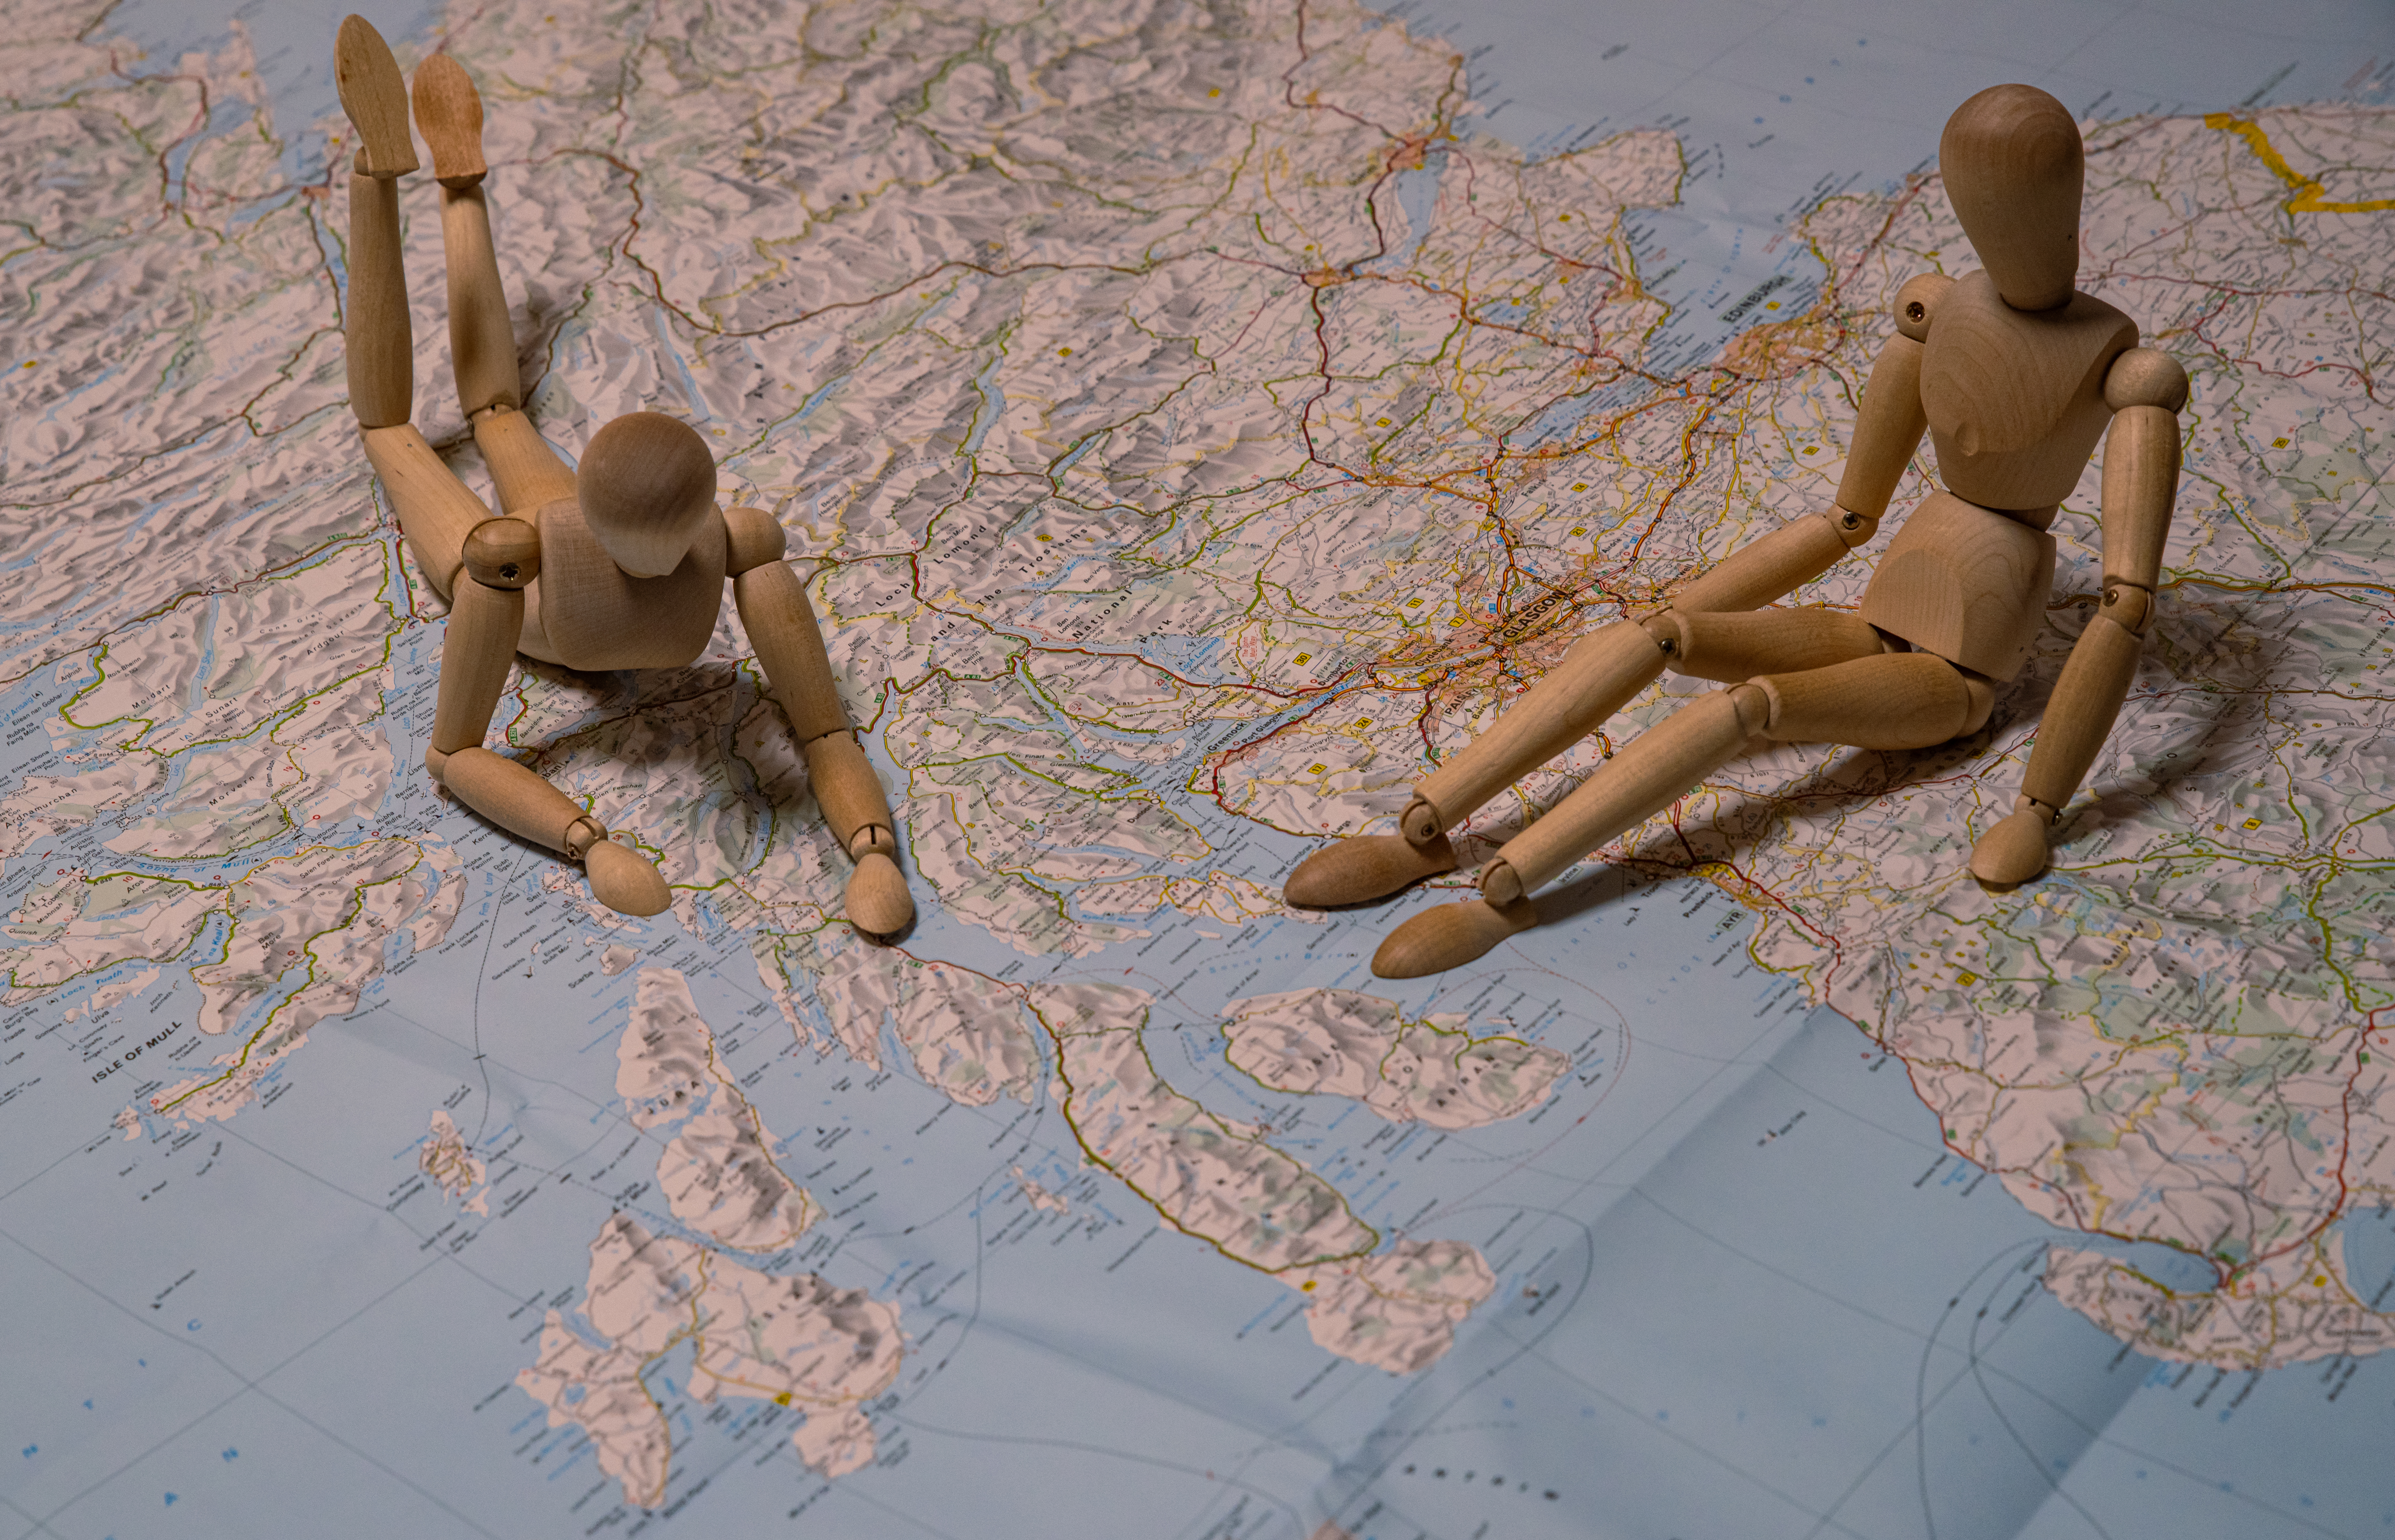
Two wooden manikins sitting on a Scotland map.

For the Scavenger Hunt #37, I revisited the theme I had used in Scavenger Hunt #32 – the wooden manikins are back!

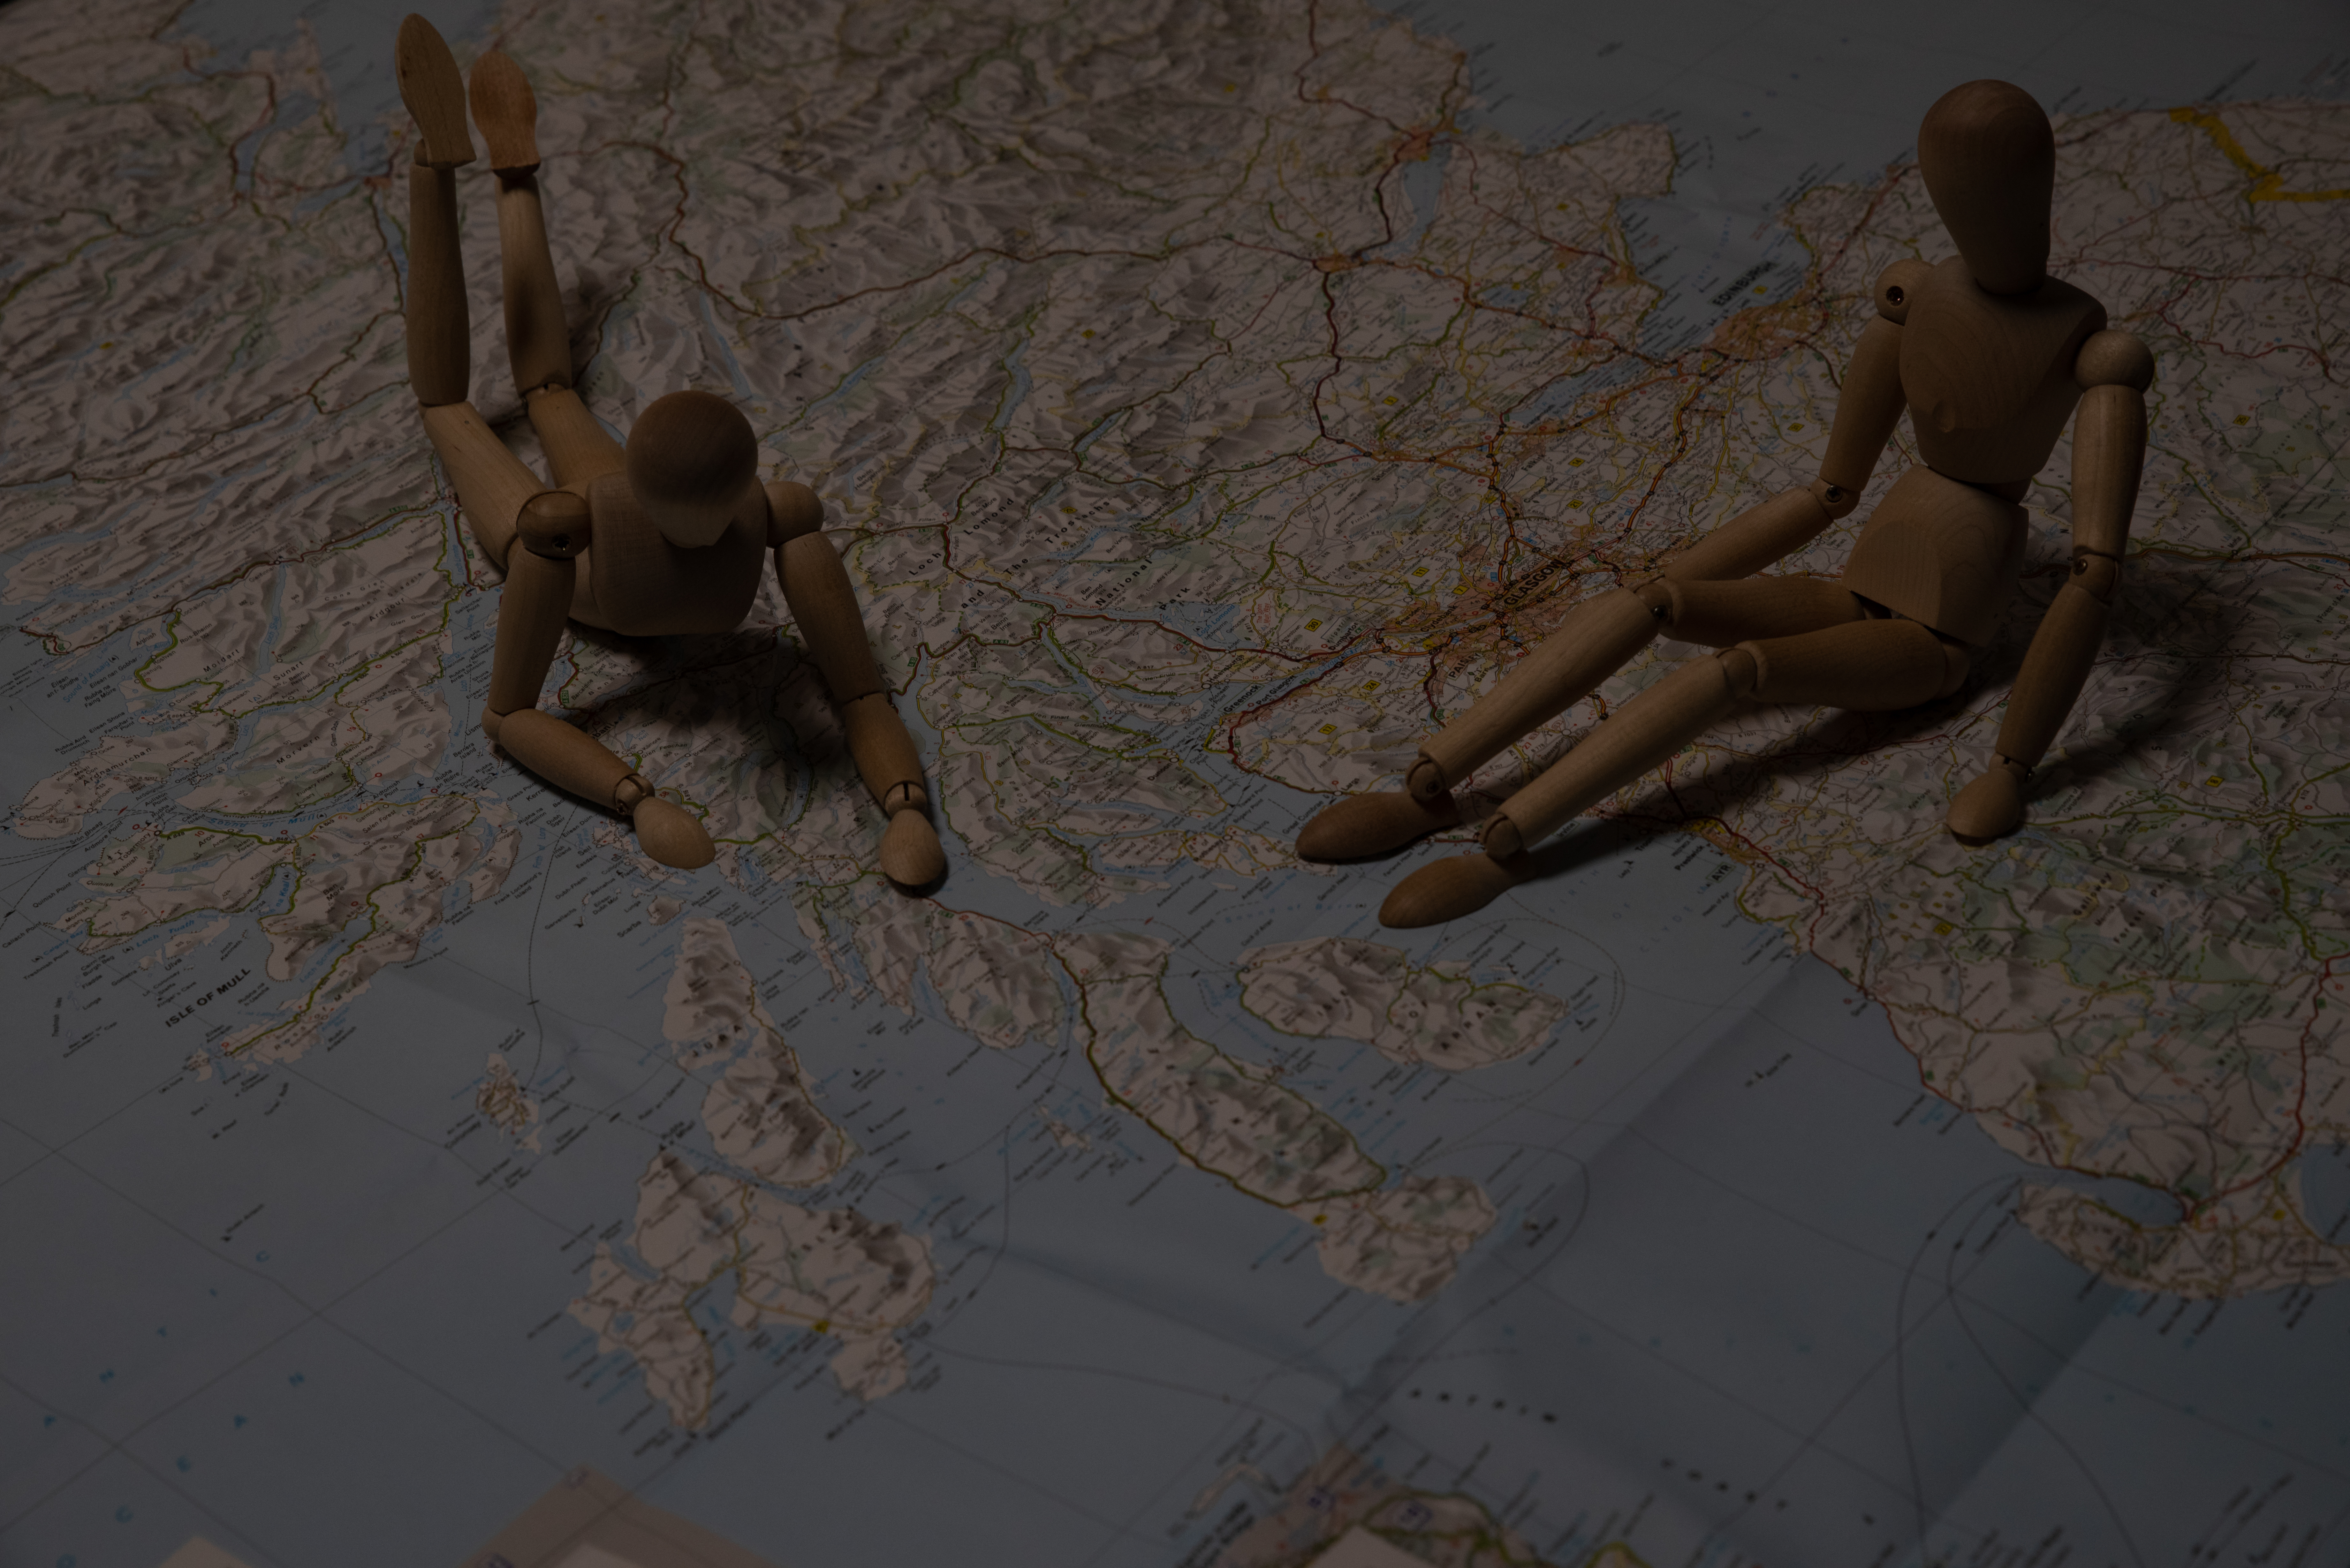
I felt a bit stumped on the word “Map” – my first idea was to play around my manikins being lost and looking at a map – but making a manikin-sized map looked like it would be a hassle, especially for something that’d be readable as a map on a picture. So I went the other way around – and I decided to show the story of planning a travel to <searches the apartment for a map, any map> Scotland, and tada!

Two wooden manikins sitting on a Scotland map - very underexposed picture.
CameraPentax K-1 II
LensPentax D FA 24-70mm F2.8
Focal length68mm
F-NumberF/9
Exposure time1/60 s
ISO800

It took a little while to get the right frame and light, but once I had that, the edits were fairly straightforward.

The pictures from my fellow Scavengers are here: Map.